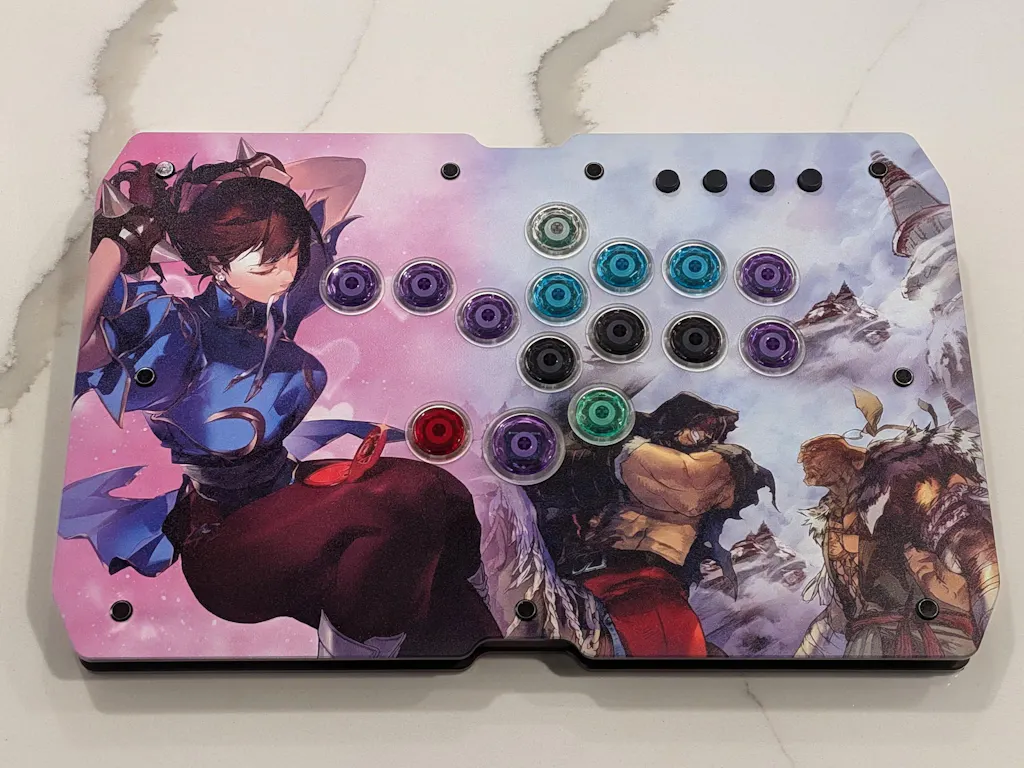
The J2A is an interesting Hall effect leverless controller with a lot to love. The UV-printed art application is top-notch, and the custom button solution is unique and feels great right out of the box. There is a 3D-printed infill inside the cap with wing tabs that allow it to sit lower, making for a thoughtful and well-implemented design.
The rapid trigger version comes with full-POM Gateron Jade Pro switches, which feel incredibly premium. The only caveat is their extremely long 3.5mm throw. To address this, Tikitaka engineers use a 3D-printed infill inside the switch housing to shorten the throw, which will vary by unit between 1mm, 1.5mm, or 2mm. Companies like DOIO sell upper housing replacements to shorten the throw to 2mm, but that modification is very time-consuming and you run the risk of breaking a switch, which I have done before. Tikitaka's solution is solid and leaves a good foundation for future revisions.
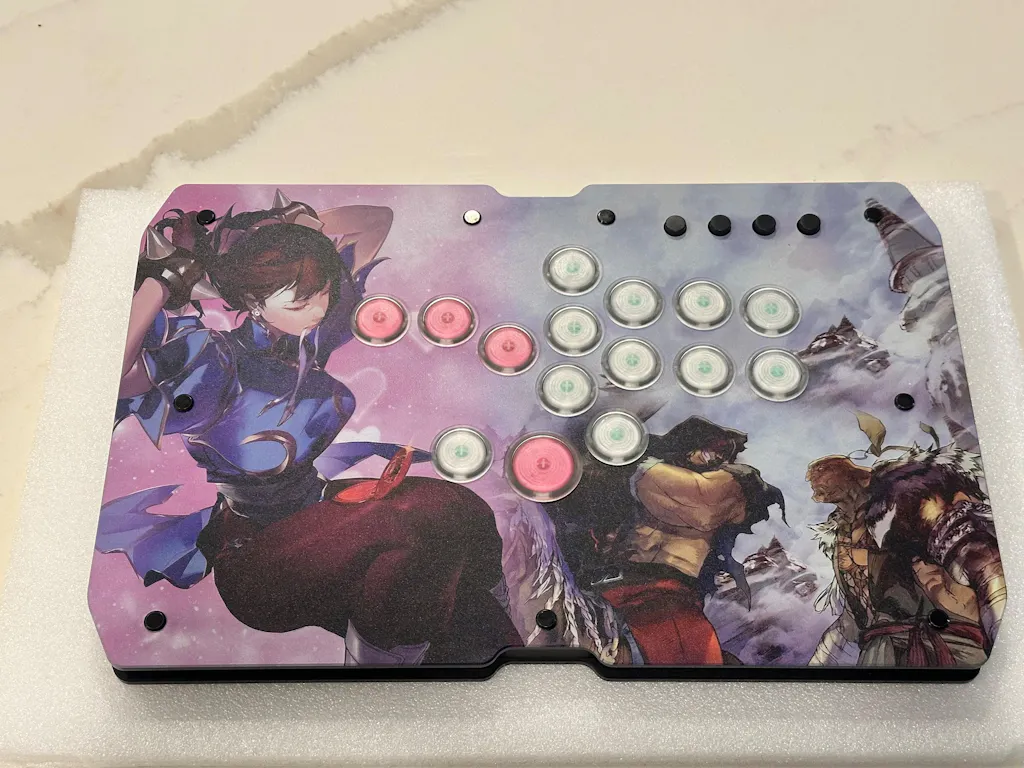
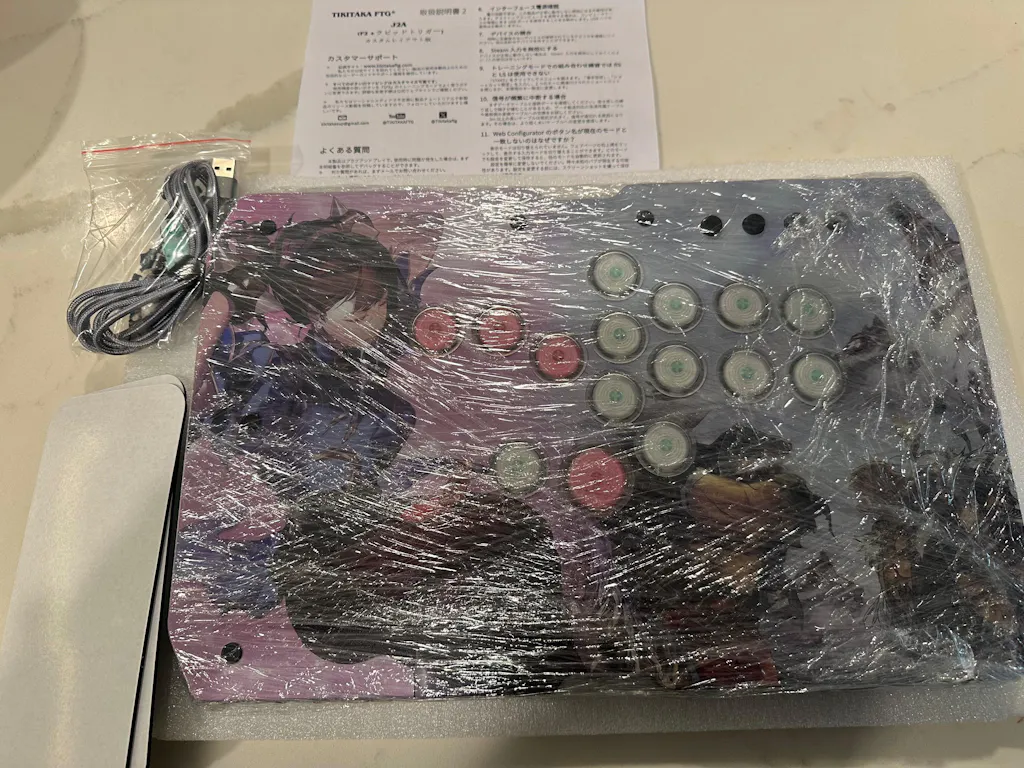
If you opt for a PS5-compatible unit, it includes an authentication dongle. Mine came with a Mayflash MagicBoot v1.1, which is highly reliable and hard to find. Moving on to the body of the unit, the menu buttons use Panda V2 switches. They are reliable and work well, but I wish they were hot-swappable rather than soldered in. I prefer a tactile feel and would have swapped them to Kailh White Owls for a clicky response. The body design is very similar to the Punk Workshop U series, but features upgrades and a more refined button layout. Strong magnets keep the top half of the chassis securely in place. Included with the unit are multiple layers of molded packing foam, a braided cable, rubber adhesive pads, and instructions in Japanese.
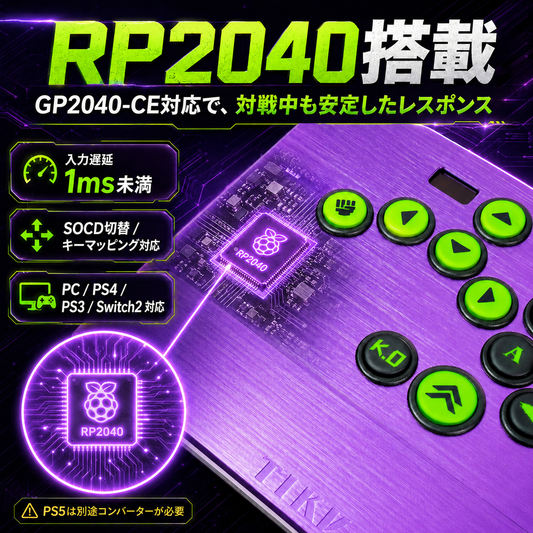
If you made it this far, this next section covers my personal experience. First and foremost: **do not reset the device firmware under any circumstances.** This board runs a custom fork of GP2040-CE version 7.12, and because Hall effect configurations are still relatively new, there are some quirks.
My unit initially worked perfectly on PC and PS5. The next day on PS5, all my inputs started firing off simultaneously. This might have been a bug or a result of me trying to calibrate the switches to a lower actuation point. I reset the firmware and flashed a standard release build of 7.12 to configure the HE settings myself, but quickly found out the stock firmware is a custom build from the ground up and an actual improvement over the base 7.12 release. After a week of looking at the code, understanding how it works, and communicating with Tikitaka's lovely customer support staff, I recovered functionality.
However, I must state that due to the Hall effect configuration, your magnetic noise sensitivity may vary if you go down the same path I did. Without the factory calibration and Exponential Moving Average (EMA) smoothing for that specific switch configuration, my stock buttons required a 0.5mm tolerance on PC and a 0.9mm tolerance on PS5 to prevent ghost inputs. Defaulting to a 0.9mm ceiling almost defeats the purpose of HE switches for me, as I like to play at 0.5mm.
To fix this, I removed the custom button caps and switches, replacing them with Kailh Green Phantom switches and SiTong Diamond caps. The Kailh switches have a natural 2mm throw. Since there is no custom 3D-printed infill to shorten the throw, I can use the full range of the switch with a much lower probability of magnetic noise triggering a ghost input.
Moving forward, I have ordered a full set of the rapid trigger 1.5mm buttons at a discount, courtesy of Tikitaka. I genuinely like them a lot, and with EMA smoothing applied, I fully expect them to work well and feel great to play on. I will use the Kailh configuration in the interim and compare the two setups later once I have more time with them.
Lastly, keep in mind that if you are attempting to remove a switch from the button housing, **DO NOT pop them out from the back.** You will damage the custom 3D-printed infill inside the cap. Tikitaka could do a better job of communicating this in the instructions. Here is the safest way to remove them:
* Unscrew the button and use pliers to gently wiggle it from left to right.
* Go slow. Once it is loose, use your fingers to pull the button out.
* Once removed, you will see the wing tabs. Using a small tool, carefully push the tab in, up, and then out.
* When reinserting the cap, slot the wings in one at a time before pushing it back into the switch.
If you break the wings, do not panic. You can superglue them back on and they will work just fine. Just keep in mind that if they are completely broken off, the switch will simply sit slightly higher.
Overall, I highly recommend this controller for anyone looking for a Hall effect leverless build using GP2040 and a magnetic chassis. I hope you give it a try, and I look forward to seeing Tikitaka continue to refine their product stack.